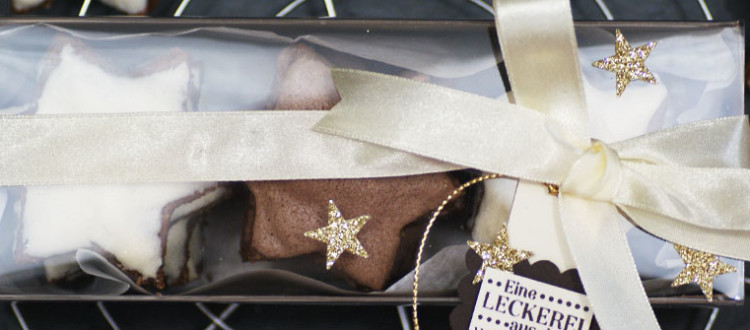
Adventskalender Tag 17: Schoko-Nuss-Sterne
Jahahaha! Es ist wieder Zeit für Plätzchen! Mach die bereit das Krümelmonster ist zurück. Heute in einer Episode von „Der Teig ist heiß“ oder besser „Gut gekühlt ist halb gewonnen!“. Und damit ist der wichtigste Tipp für’s heutige Rezept schon mal auf dem Tisch: Dieser Teig muss kalt sein, wirklich kalt. Sonst hast du, wie ich, keine Freude damit.
Oh yes, it’s
Cookie Time
Again! Get ready for the cookie monster in an episode of „The dough is hot“ or not. And that brings the most important tip out straight away: This dough needs to be cold, really cold. Otherwise you’ll not have my fun with it, like me.
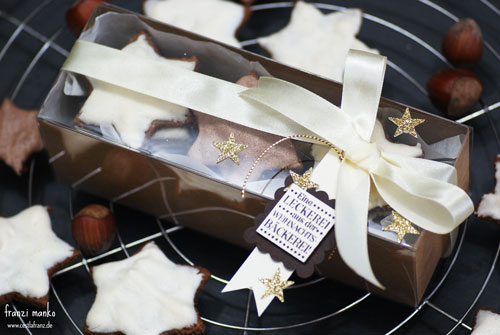
Gut es könnte auch daran gelegen haben, dass ich ihm – also dem Teig – 25g gemahlene Haselnüsse unterschlagen habe, aber daran will ich jetzt mal nicht denken. Dennoch, so ein Biest wie dieser Plätzchen-Teig beim Ausrollen und anschließendem Ausstechen war, so lecker ist hinterher das Ergebnis. Ein Kampf mit dem Nudelholz, der sich gelohnt hat. Lass es mich so formulieren: Es ist wie eine Symphonie von Nutella.
Okay, it may have also been that I didn’t quite put enough of the ground hazelnuts into the dough, but I don’t want to think about that now. Anyway, as naughty as this dough was when it came to rolling and cutting, so nice is the final result. A fight with the rolling pin that was definitely worth it. Let me put it that way: it’s a symphony of Nutella.
Aber bevor du gleich mit dem Rezept in deiner Backstube verschwindest, zunächst noch ein paar Worte zur Verpackung. Das Auge ist ja schließlich mit. Und bei mir auch Eltern, Schwiegereltern, Freunde und der Grinch. Stell dir mal vor ich müsste diese ganzen Berge von Plätzchen immer alleine aufessen, da würde ich bald in unsere kleine Küche nicht mehr rein passen.
But before you run off to your kitchen with the recipe straight away, let me draw your attention to the packaging. Feast for the eye. And in my case also family, friends and the Grinch. Just imagine if I had to eat all of these cookies on my own, I wouldn’t fit into our tiny kitchen anymore.
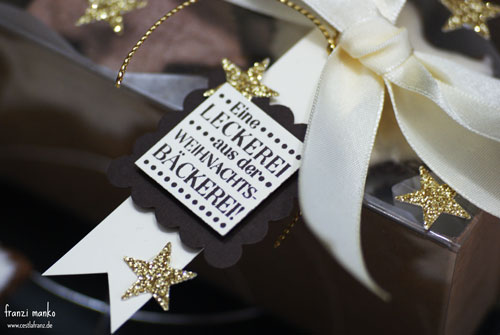
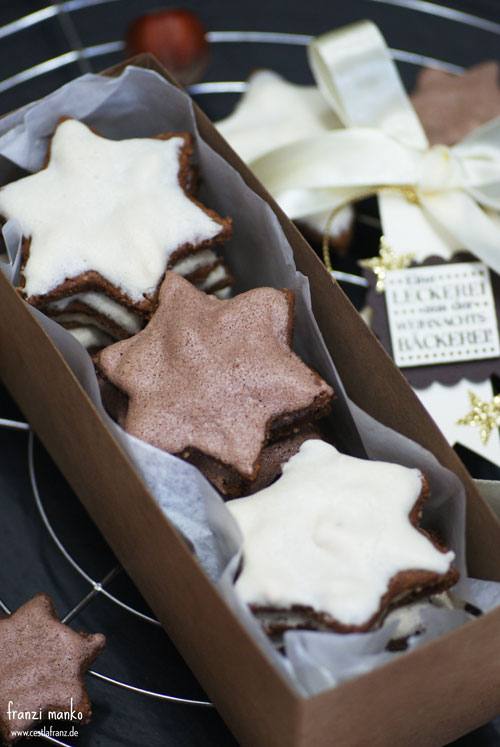
Zurück zur Verpackung: Aus meiner Sicht ein absolutes Must-Have in jedem Food-Geschenke-Verschenker Haushalt sind diese Boxen mit Klarsicht Banderole. Geschenkschachteln Schnelle Überraschung mit richtigem Namen. Ich habe ja sie in meinem Stampissimo-Video, dass ich mit Stampin‘ Up! dieses Jahr drehen durfte ebenfalls verwendet und gezeigt, wie man sie vergrößern kann. Wem die kleine reicht, der hat wirklich im Handumdrehen eine spitzenmäßige Verpackung gezaubert. Einfach ein schönes Band drum, Schleife binden (das geht mit den Satinbändern übrigens besonders gut) und dann noch schnell einen Anhänger dran. Fertig. Und ja ich weiß, dass dieser Spruch aus einem ganz alten Set ist. Aber wann wenn nicht jetzt, kann ich ihn zum Einsatz bringen.
Back to the packaging: In my opinion these tag a bag gift boxes are a total must-have in the household of everyone who love to give food presents. I also used them in my Stampissimo-Video, that I was lucky enough to be filming with Stampin’ Up! this summer. In the video I also showed you how you can enlarge the box to fit even more cookies in. If the regular size is fine for you, then your packaing is done in no time. Just add some ribbon, tie a bow (which btw work especially well with the satin ribbon) and add a tag. Done.
Nun da ich mein Plädoyer für die Boxen gehalten habe, können wir mit dem Rezept für die Schoko-Nuss-Sterne weitermachen.
Du brauchst:
- Für den Teig:
- 60 Zartbitter-Schoki
- 1 Ei (M) und ein weiteres Eigelb
- 125 g Zucker
- 1 Päckchen Vanille Zucker
- 1 Prise Salz
- 1 geh. TL Instantkaffeepulver
- gemahlene Haselnüsse
- 1 Msp. Backpulver
- Für den Guss:
- 1 Eiweiß
- 50g gesiebter Puderzucker
Now that my speech for the boxes is out of the way let’s move on the recipe for these Chocolate-Hazelnut-Stars.
This is what you need:
- For the dough:
- 60 g dark chocolate
- 1 egg + 1 egg yolk
- 125 g sugar
- 1 paket vanilla sugar
- pinch of salt
- 1 tsp instant coffee powder
- 225 g ground hazelnuts
- pinch of baking powder
- For the icing:
- 1 egg white
- 50 g powdered sugar
Und damit machst du folgendes:
- Zucker, Eigelb, Ei, Salz und Kaffeepulver schaumig schlagen
- Ach nein, zuerst die Schoki im Wasserbad schmelzen, aber das läuft ja parallel
- Dann die flüßige Schoki in die Masse rühren und danach ca. 2/3 der Haselnüsse
- Dann noch die restlichen Haselnüsse unterkneten
- Und jetzt ab in den Kühlschrank … wie lange sagt das Rezept nicht, aber ich würd mal sagen so 2 Stunde sollten es schon sein, vielleicht auch mehr.
And this is what you do with it:
- Mix sugar, egg yolk, egg, salt and instant coffee powder until fluffy
- No wait, first you need to melt the chocolate but that kinda works in parallel
- Then you mix the chocolate with the sugar-egg-fluff and afterwards add about 2/3 of the hazelnuts
- Then knead in the remaining hazelnuts
- Now it’s time for the fridge … the recipe doesn’t really say for how long but I recommend at least two hours, or more if you can wait that long.
Zwischendurch noch ein kleiner Tipp, wie ich am Ende Frieden mit meinem Teig geschlossen habe. Ich habe ihn portionsweise zwischen Klarsichtfolie ausgerollt und dann noch einmal ein paar Minuten in den Kühlschrank gelegt bevor ich mit dem Ausstechen begonnen habe. Das dauert zwar, hat mir aber viele Nervenzusammenbrüche erspart und verhindert, dass ich einfach alles weggehauen habe.
In the meantime a tip how I came to peace with my dough. I rolled out portions of it between two layers of cling film and then put it back into the fridge before I started to cut out the stars. I know it takes it little more time but saved my nerves and the dough from being chucked out completely.
Weiter geht’s:
- Eiweiß steif schlagen und dann portionsweise den gesiebten Puderzucker unterschlagen (ggf. kannst du noch ein paar Tropfen Wasser hinzufügen, damit es besser streichfähig ist)
- Ofen vorheizen auf 120°C Umluft, damit alle Bleche wieder gleichzeitig rein können
- Nun das Biest, den Teig ausrollen und ausstehen, auf ein Blech (mit Backpapier versteht sich) legen und dann dick mit der Eiweiß-Masse bestreichen
- Nach 25-30 Minuten im Ofen sind die Leckereien fertig – nun gut, nach dem Abkühlen.
Let’s continue:
- Now beat the egg white until stiff and add the powder sugar one portion at a time (if need be add a few drops of water so you can spread it well)
- Pre-heat your oven to 120°C circulating air, so you can put multiple backing trays in at a time
- Now take the naughty dough out of the fridge, roll it out, cut it out, place it on your backing tray and cover it thickly with the egg white mixture
- After 25-30 minutes in the oven your treats are ready to be enjoyed – well once they have cooled down.
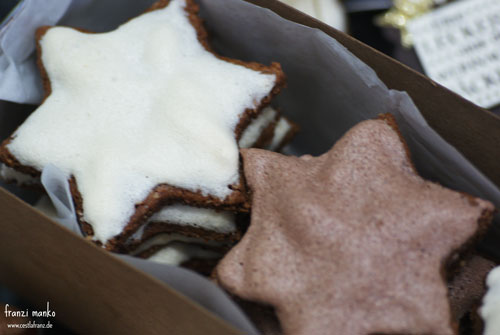
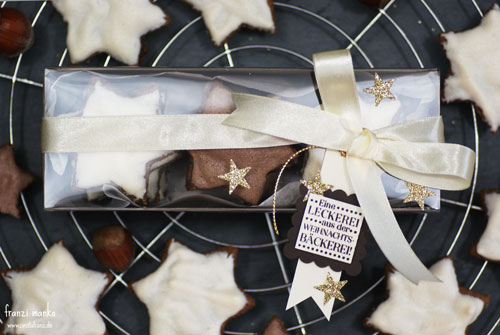
Bei mir siehst du, dass manche meiner Sterne einen braunen Überzug haben. Nein, ich habe sie entgegen meiner Neigung nicht anbrennen lassen, sondern für den zweiten Schub einen Teelöffel Kakaopulver in den Eischnee gerührt. Auch sehr lecker.
As you can see on my pictures, some of my stars are actually covered in brown. No, I didn’t let them burn intentionally as I normally would; rather I added a tea spoon of cocoa to the egg white mixture before I spread it on the stars. Also very yummy.
Nun da. Wenn das hier heute online geht, sind bei uns zu Hause schon keine Spuren von den Plätzchen zu finden. Aber ich hoffe bei dir dafür bald umso mehr.
Alright. By the time this post goes online today, there will be no evidence of the extistence of these cookies left in our home. But I hope there will be in yours instead very soon.
Lass es dir schmecken!
Enjoy!
Franzi
Folgende Produkte habe ich für die Plätzchen-Verpackung benutzt:
Built for Free Using: My Stampin Blog

